
Accessing Smart Forms
Once the Smart Forms are created within the Workflow section, they can be accessed by the respective users from the "Forms Area" in PaperSave to fill in the details and submit the form as a Workflow item to the respective Workflow.
Follow the below steps to access a Smart Form:
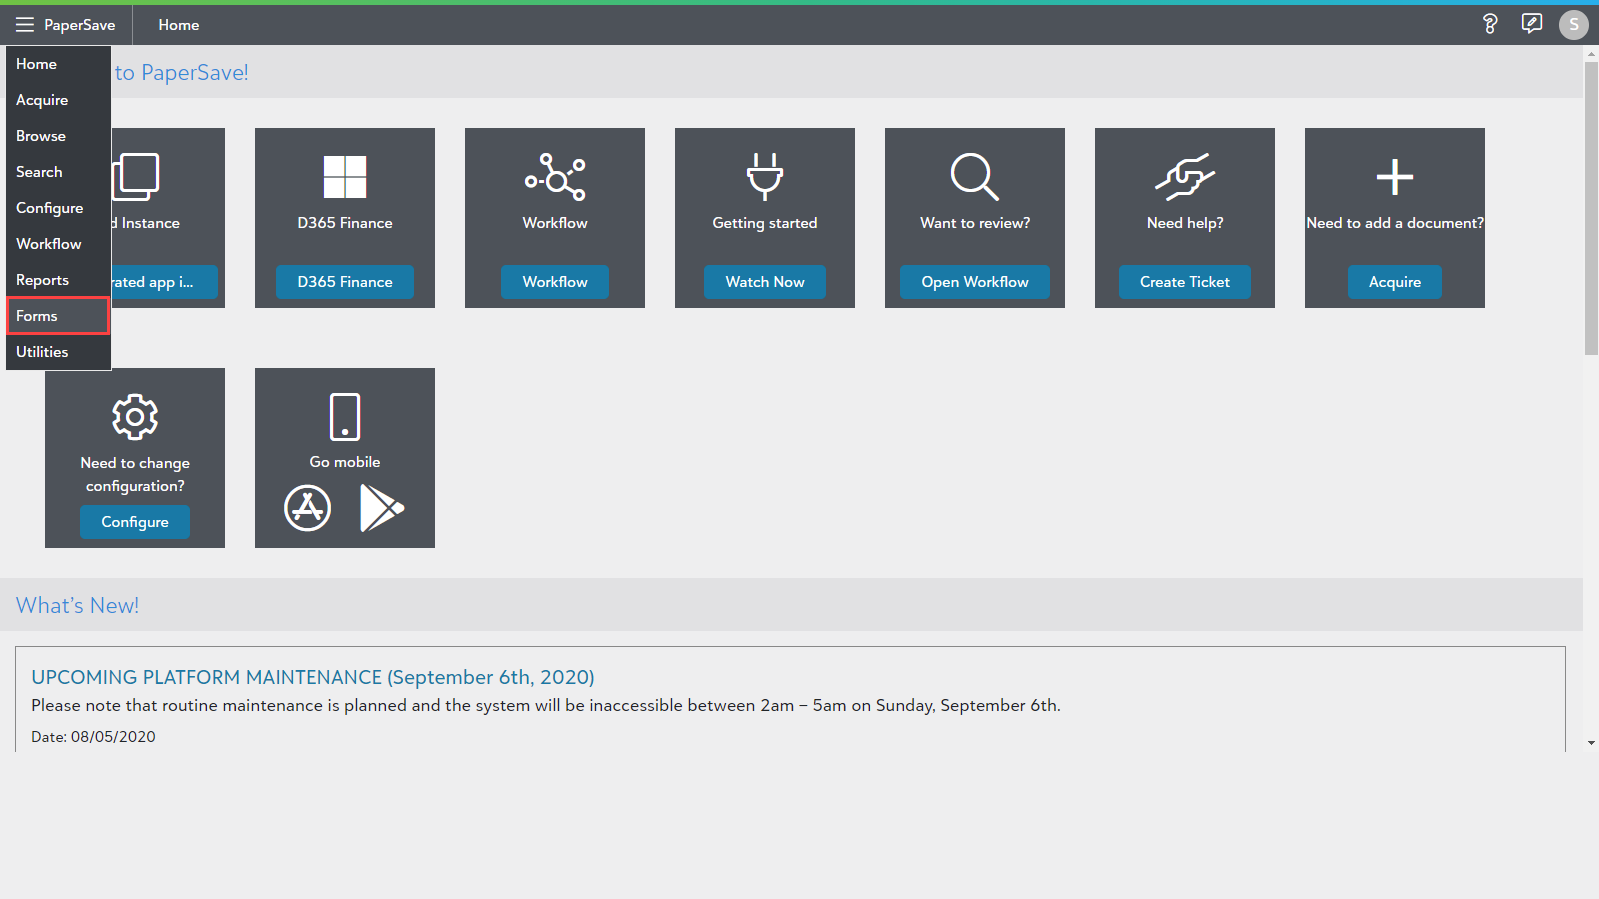
1) Click on PaperSave navigation menu from the top left corner in the application bar. Now, select Forms from the list, as shown in the below screen.
2) Now, it navigates you to the Workflow Forms Area where you will see a list of all the Forms organized by their respective Workflow. Click on the form name to open it.

4) Enter the required details in the Smart Form.

5) Now, there are various options available in the top-right corner of the screen, as shown in the below screen.
The following is a description of each option.
a) Attach File  : This option allows you to attach one or more PDF or image files with the current Smart Form. Click on the "Attach" icon that opens a dialog box to attach the files. Click on the Browse Files and attach PDF/Image files that you wish to attach.

- Once the file is successfully attached, a confirmation dialog box pops up, as shown in the below screen. Click on the Ok button to close the dialog box and click on "
 " to close Attach Files dialog box. You may also click on the Delete
  button to remove the attached file(s).

- Click on the Submit button to submit the form. Doing so, Form Submission Preview is available for your review. Scroll down to view the attached files. The form will highlight the mandatory fields that are not filled. You can anytime go back by clicking the "" to fill the required fields. Once all details are filled, click the Submit button on the Form Submission Preview.

- If any mandatory fields are not filled, then such fields will be highlighted, and the Submit button will be disabled, as shown in the below screen.

- Once you enter all the required fields, the Submit option will be enabled. Once the Smart Form is submitted successfully, a confirmation dialog box pop-up, as shown in the below screen.

- The form is submitted. You can access the form from Workflow. The form will be displayed as shown in the below screen. The attachments filename are displayed at the bottom of the Smart Form page and the attached documents gets merged with the Smart form document. You can click on the pages from the thumbnail to view the attached files.

b) Save Options:
This option allows you to save certain field values which could be used by other users to autofill the fields in the form.
- Click on the Save button to open a dialog box, as shown in the below screen.

- Enter the desired name in File name option to save the partially filled form. Also, you can click on "Save to Selected" to save partially completed form over the existing form.
- Once the file is saved successfully, a confirmation dialog box will pop up as shown in the below screen.

c) Open Save Files  : This option allows you to view a list of saved forms with the details such as Name, Date, and Created by.

- Select the form from the list and click on Open to Selected option to auto-fill the saved field values in the current form.
- When you click on Open to Selected option, a confirmation dialog box will pop-up. Click on Yes to override the saved field values.

Note: 'Save Options' and 'Open Saved Files' options will be available only for Private Smart Forms.